DIY (Server) Room Monitor
2020-10-30 21:28. Keywords: blue pill, DIY, arduino
Look at this, two blog posts in a year...in the same month even. :) I'm writing up a little project I just finished.
Not long ago, I moved a computer that I had running more often than not out of the apartment. It wasn't really loud, but it was loud enough that it was annoying enough at night. With the machine out, the house is quiet; call me paranoid, but I don't like not having it in the house where I can see it all the time.
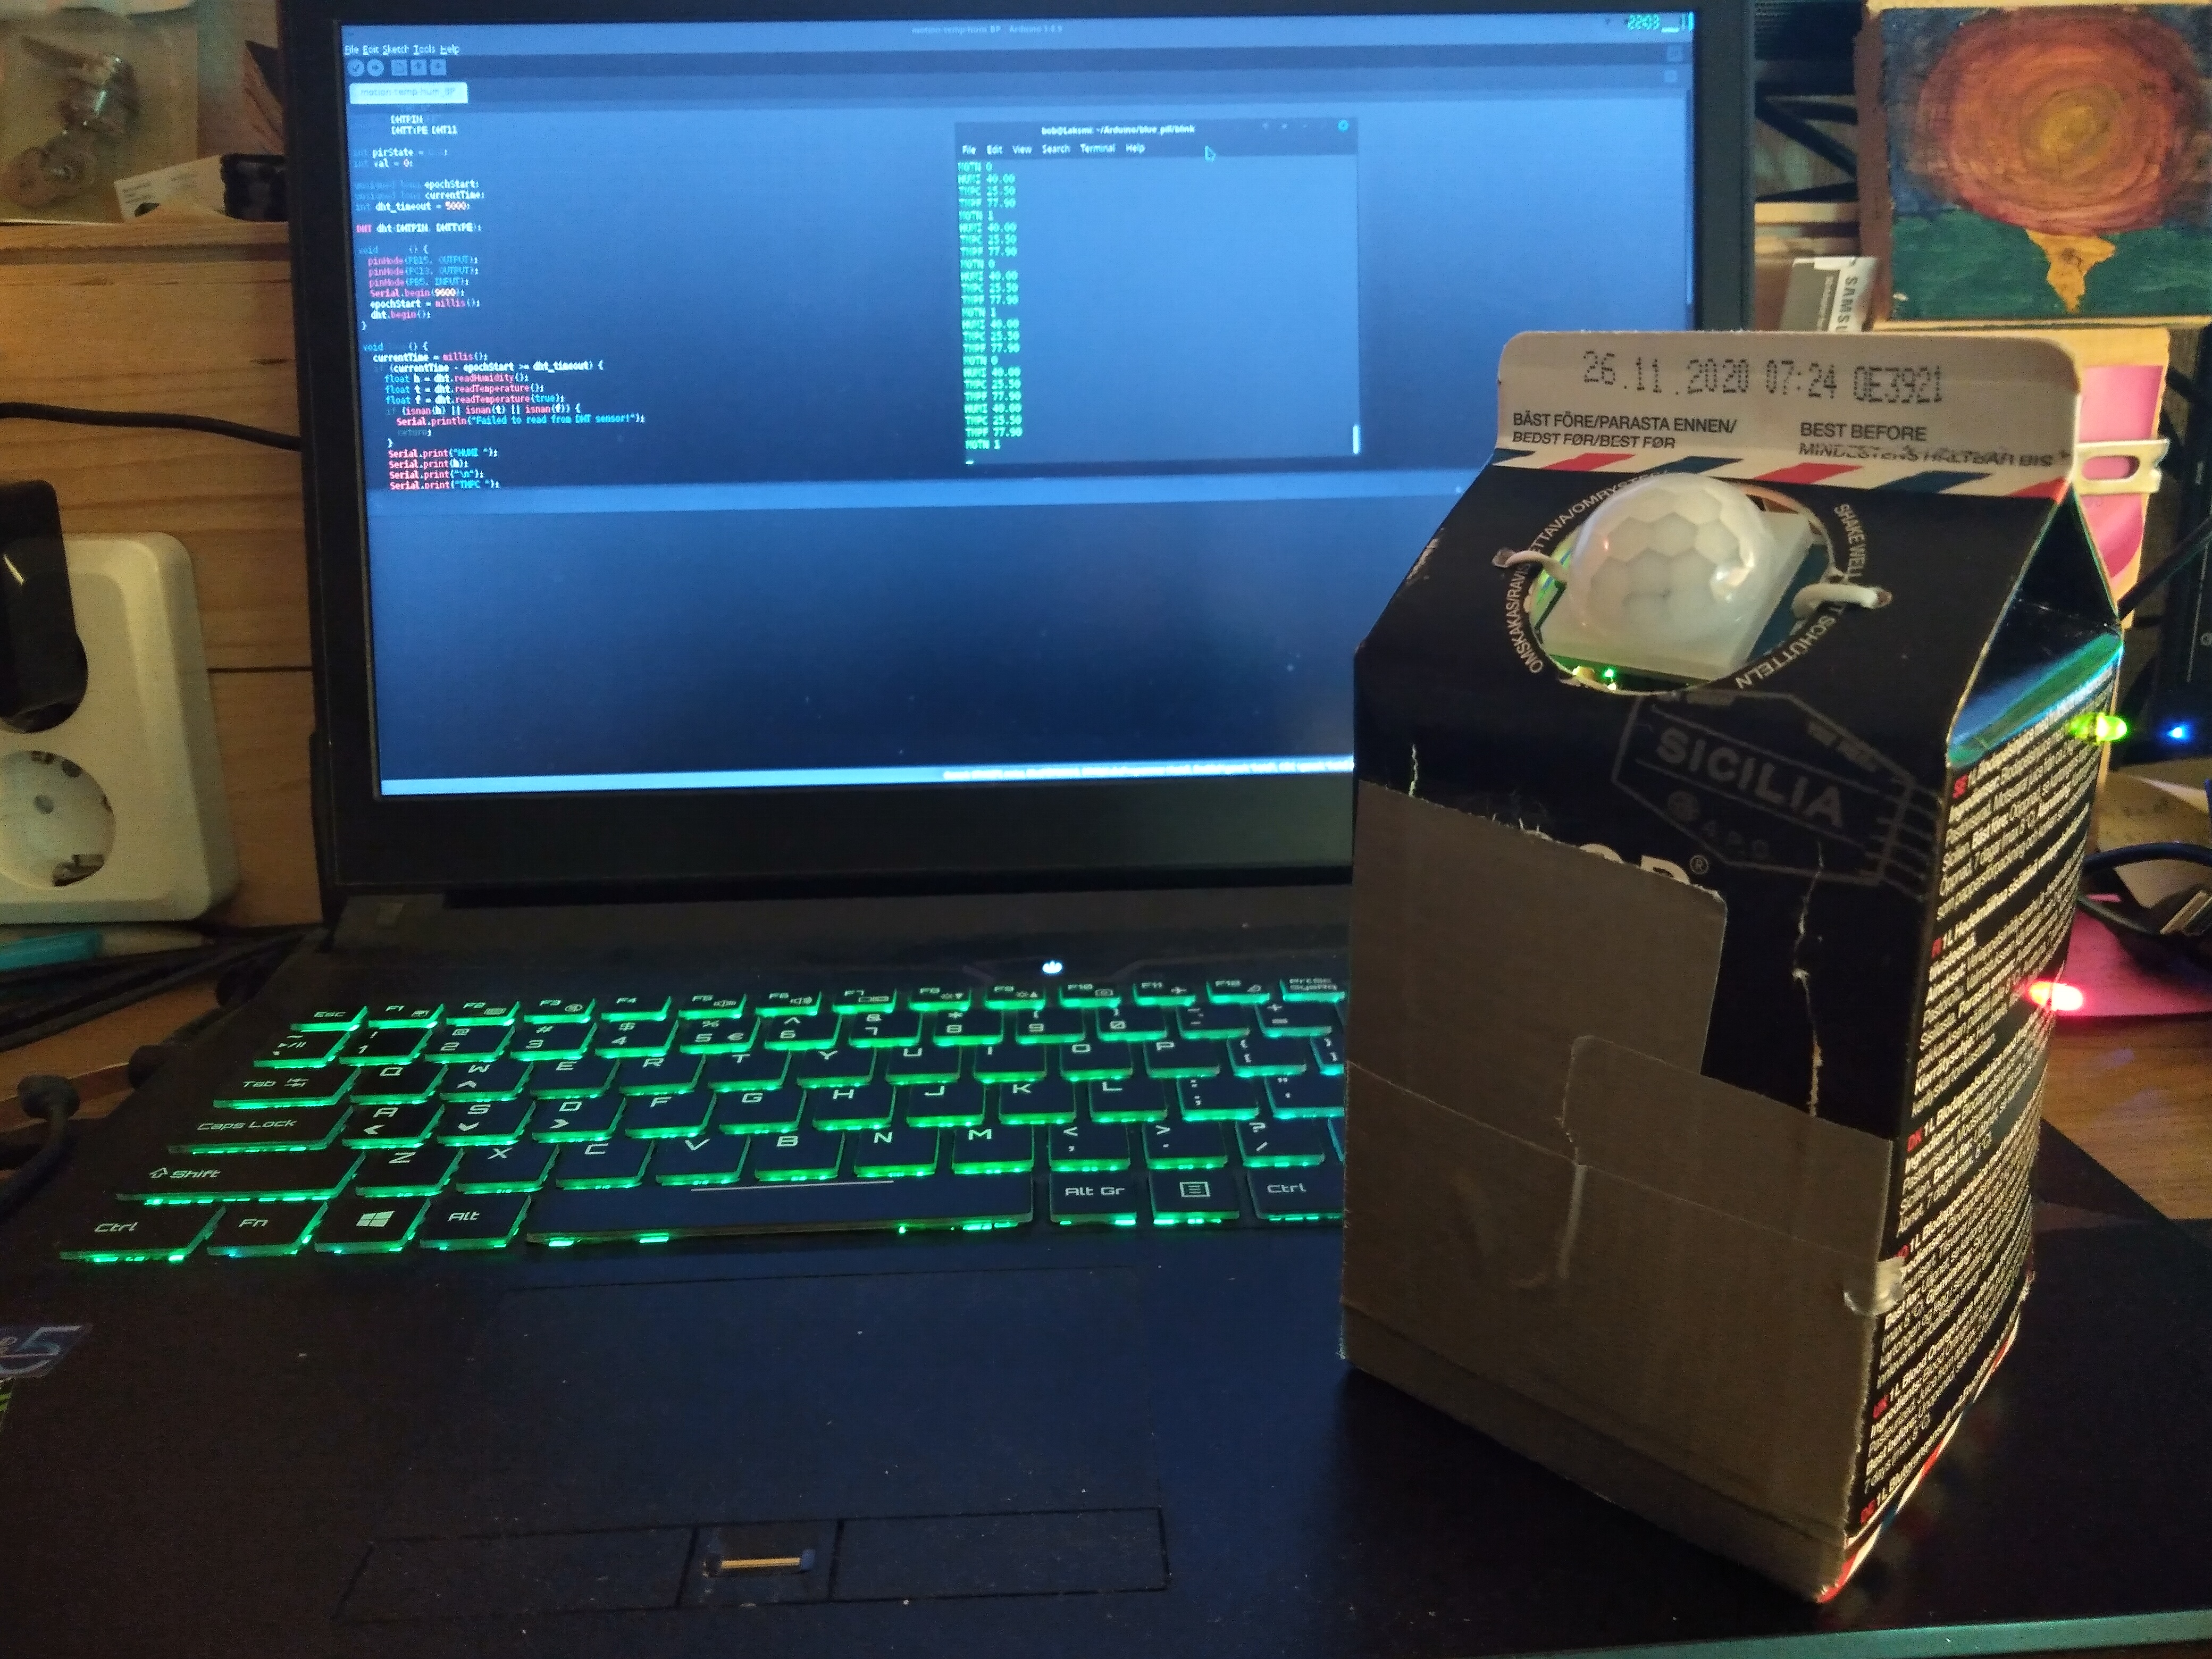
I decided on some kind of monitor, so I shopped around, but everything was either super pricey or didn't do what I wanted – motion detection, temperature, and humidity monitoring. About a year or so ago, I bought an Arduino and occasionally do something super spectacular like making LEDs blink. I thought this would be a perfect opportunity to do something useful and put together my own monitor. Here's the finished product – I'll walk through the steps in this post.
I already had a PIR motion sensor that came with the Arduino kit but I never used it, so the first step was to learn how it worked. As it turns out, there's only one lead aside from the power cables; this lead reads hot when it detects motion. I googled the temperature-humidity sensor and it was similarly simple wiring, so I ordered one – the DHT11. I also didn't want to use my Arduino in a project that I envision as relatively permanent. It's fun to tinker with and it's overkill to monitor two sensors. So along with the temperature-humidity sensor, I ordered another board – STM32 "Blue Pill" – which is cheaper (about 2 euros) than the Arduino. It's still super overkill for two sensors, but the price is right. I also read that although it's also somewhat less user friendly, it's still programmable with the Arduino IDE, so it shouldn't be that much more complicated.
When my order arrived, I got to work on a prototype. I wired up the PIR sensor and the DHT11 to my Arduino. I wanted to make the prototype with the Arduino because I was already familiar with loading programs to the Arduino, which is relatively easy. The Blue Pill, on the other hand, is less user-friendly – it doesn't take programs directly via usb out of the box and the pins aren't labeled the same way.
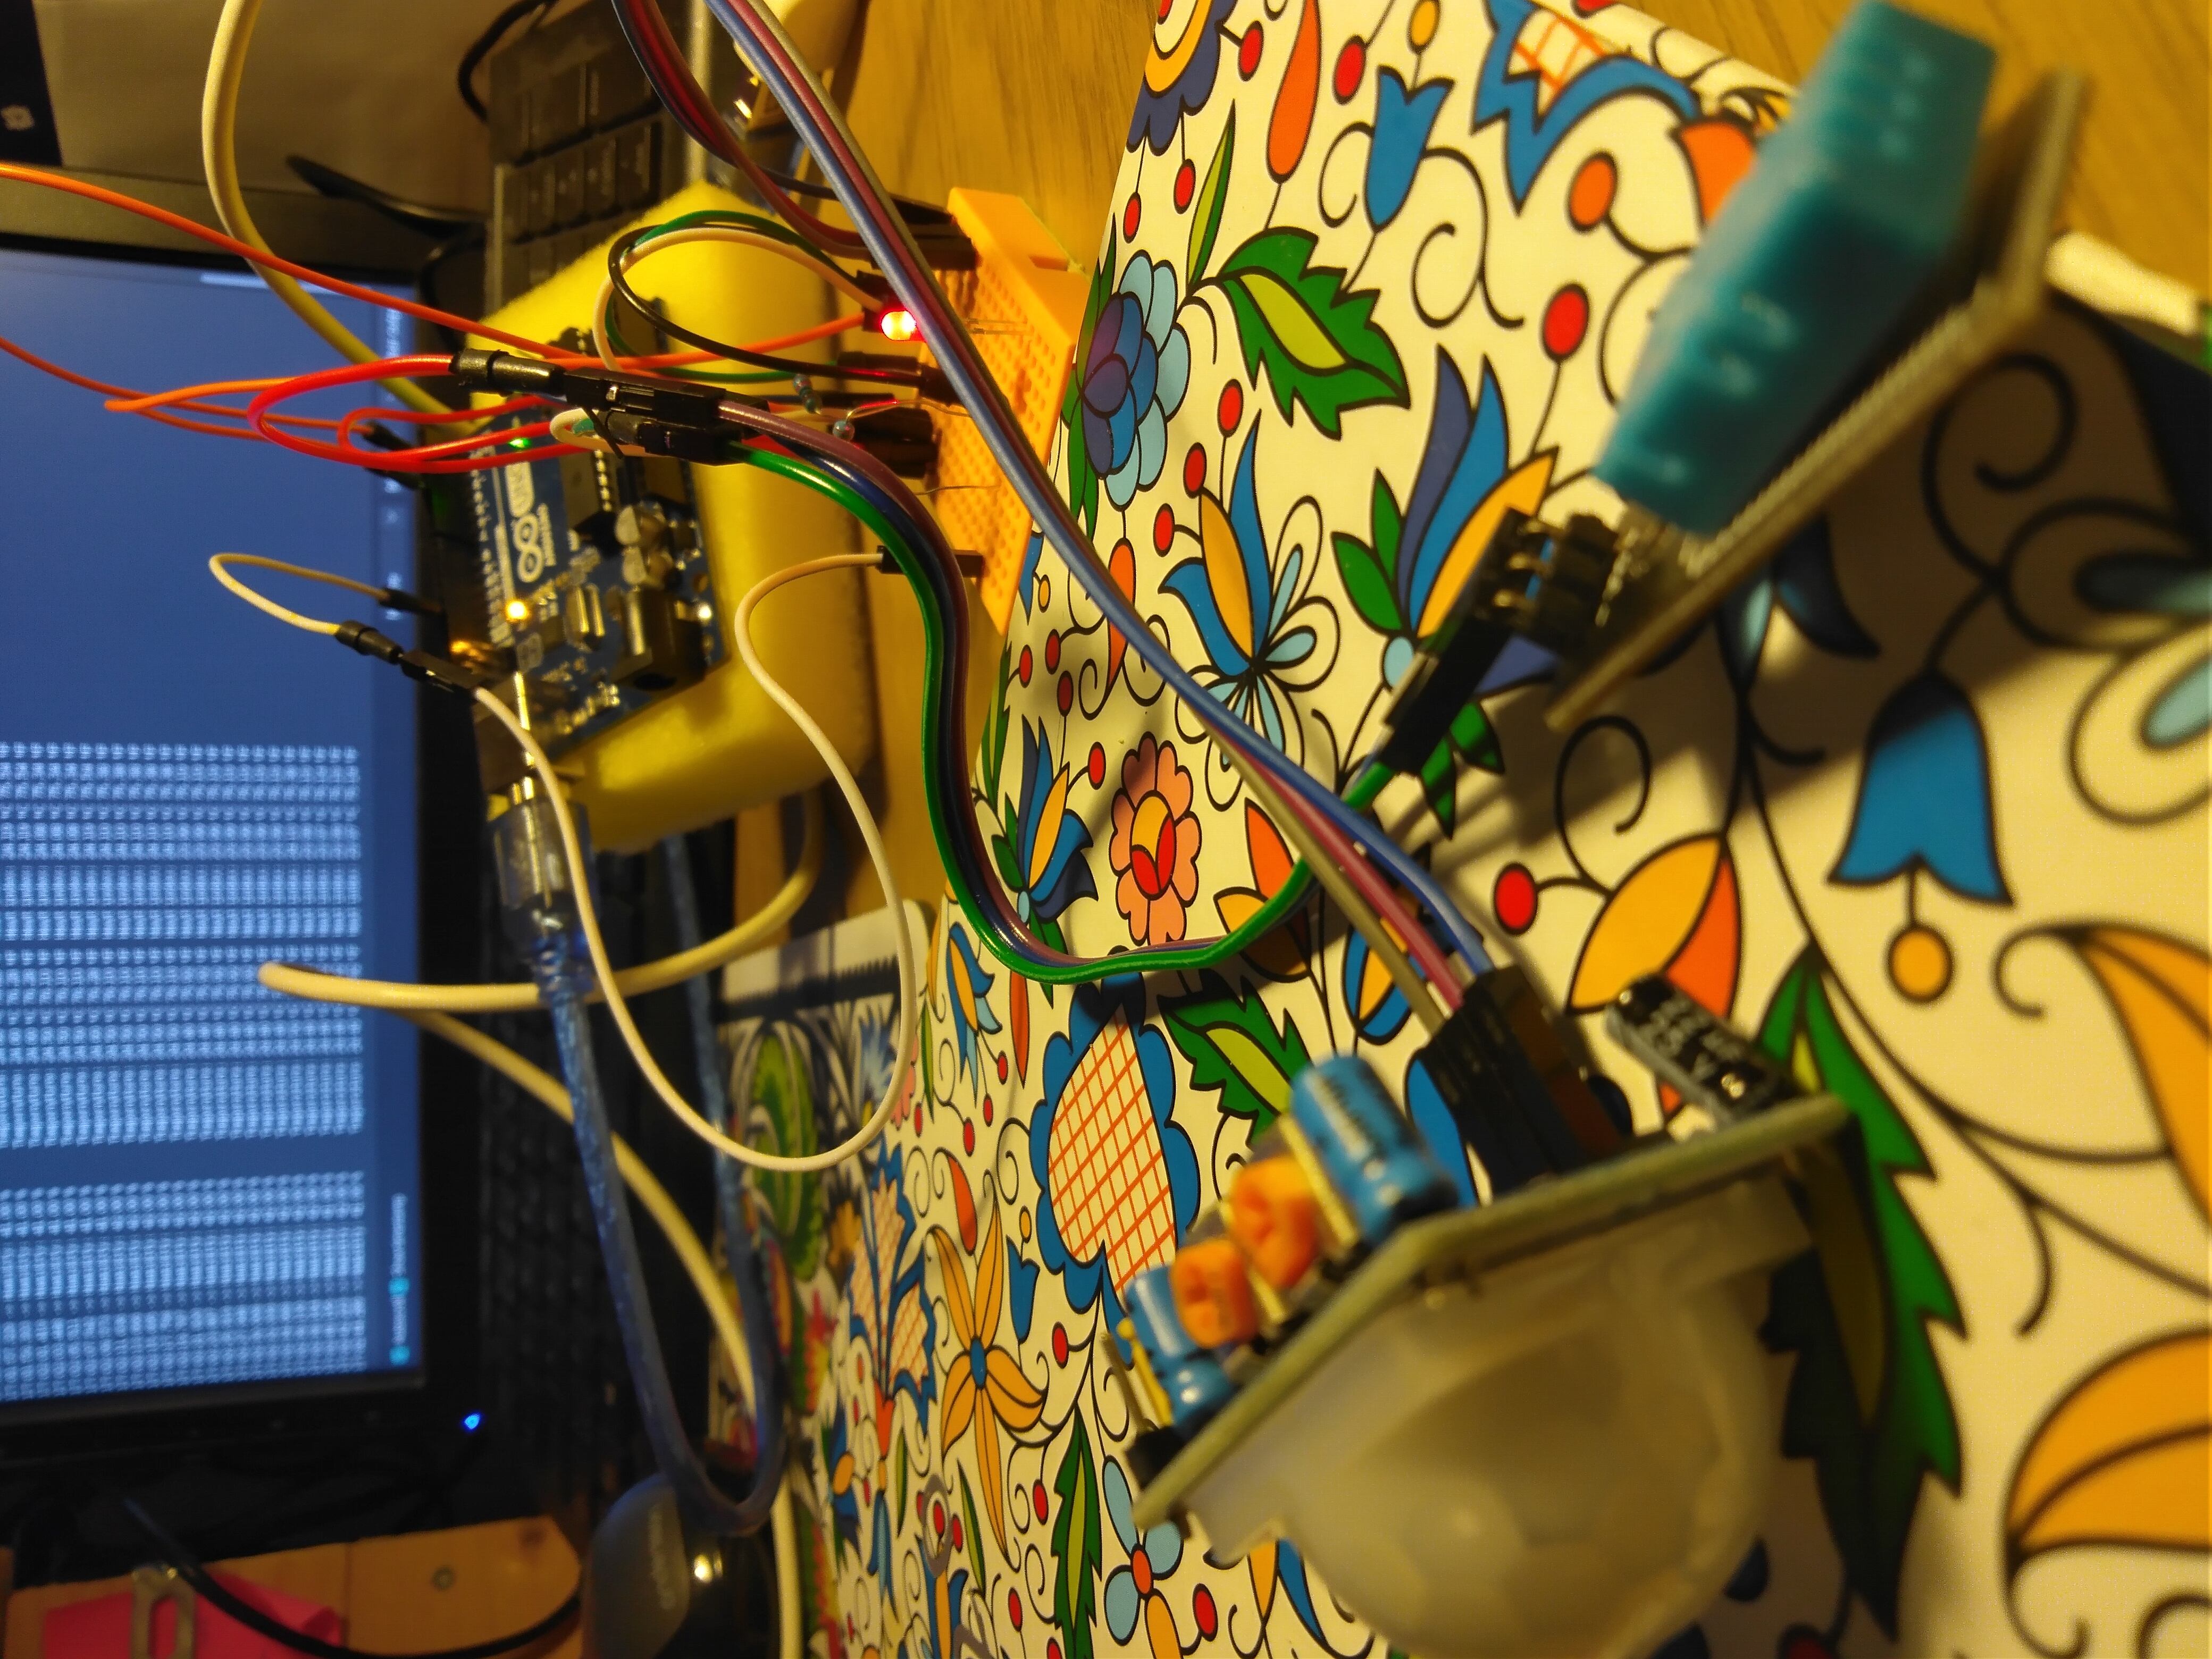
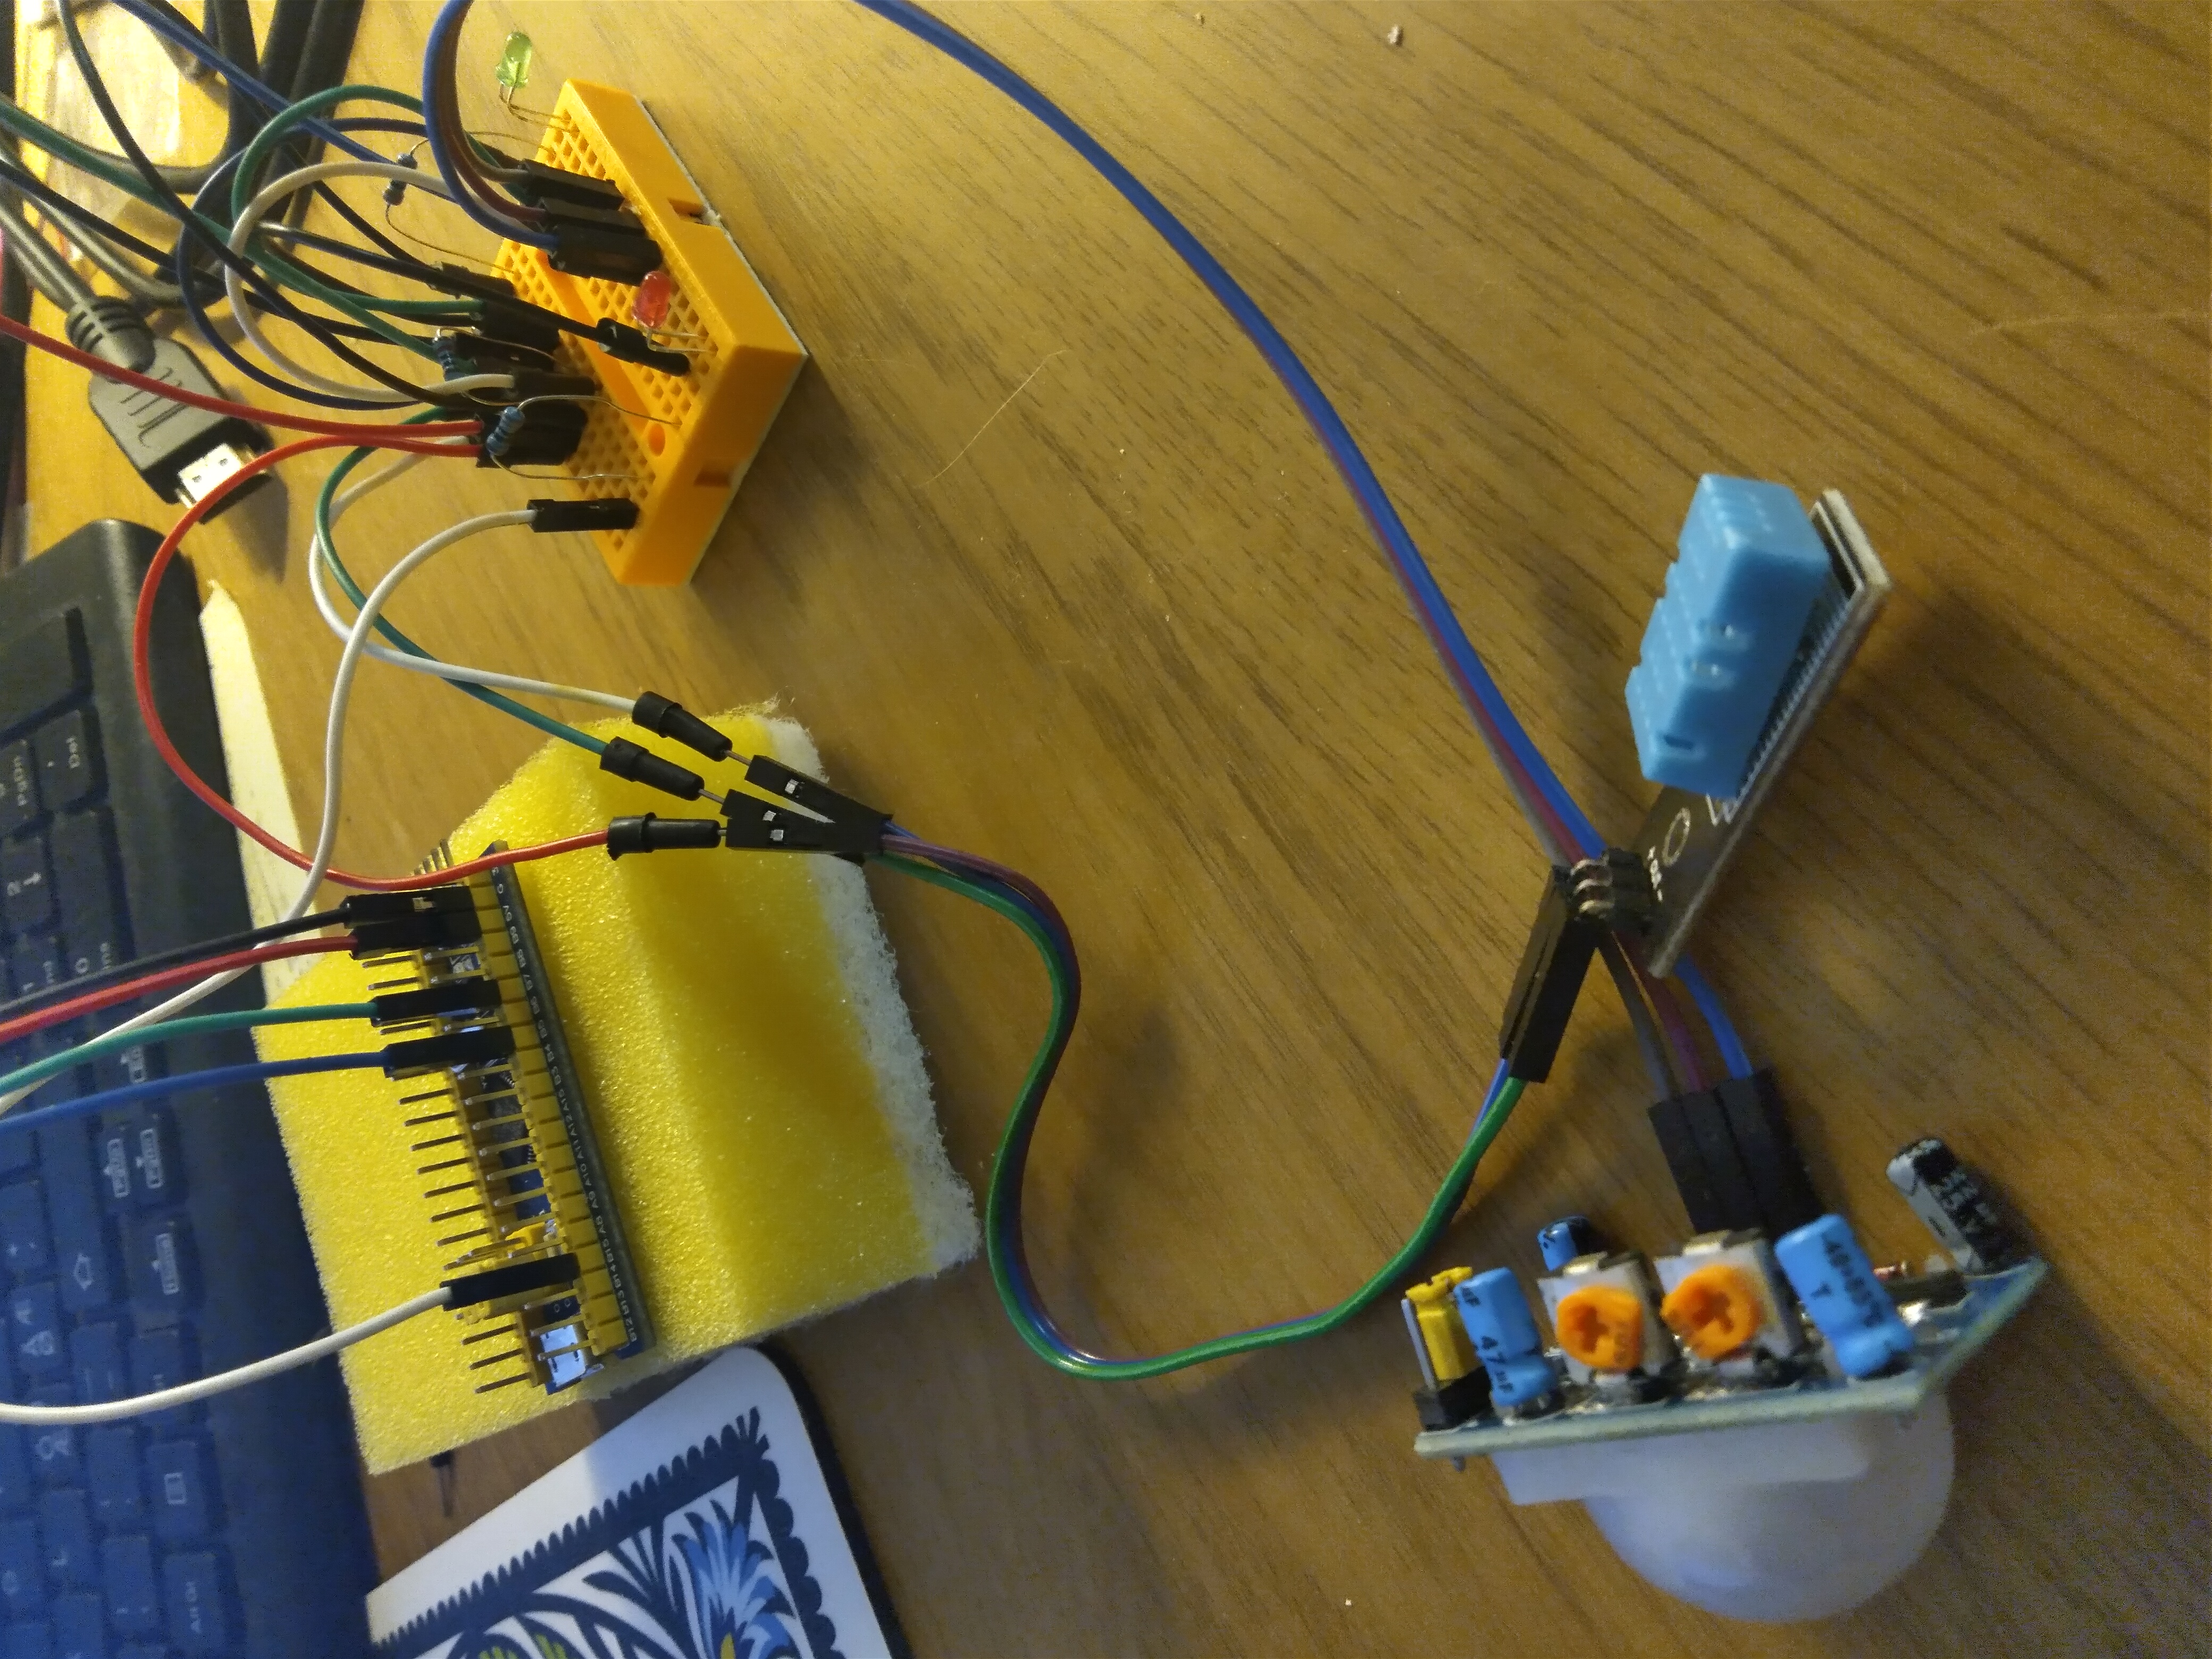
Here's the prototype hooked up to the Arduino. The PIR sensor is front-left and the DHT11 sensor is front-right. The red LED is on when the PIR sensor detects motion.
There was some minor configuration required to use the DHT11 sensor – a library needed to be installed, but it was all fairly straightforward. Then I literally copy-pasted the code from the PIR sensor tutorial and the DHT sensor tutorial from the Arduino website to a single sketch. From there, I only needed to merge the 'setup' and 'loop' functions, and redefine one pin (both tutorials used pin 2 as sensor input). ...and hey, it works.
Next, I learned how to program the "Blue Pill". I followed the tutorial here to get started. As I mentioned, it was a little less user friendly, indeed, but with following the tutorial made it pretty painless. I only had trouble with the USB to TTL adapter – I crossed the TXD and RXD wires (derp!). I uploaded a few versions of the "Blink" sketch, one with serial output to make sure that I would actually be able to collect data from my sensors. That worked too. Alright.
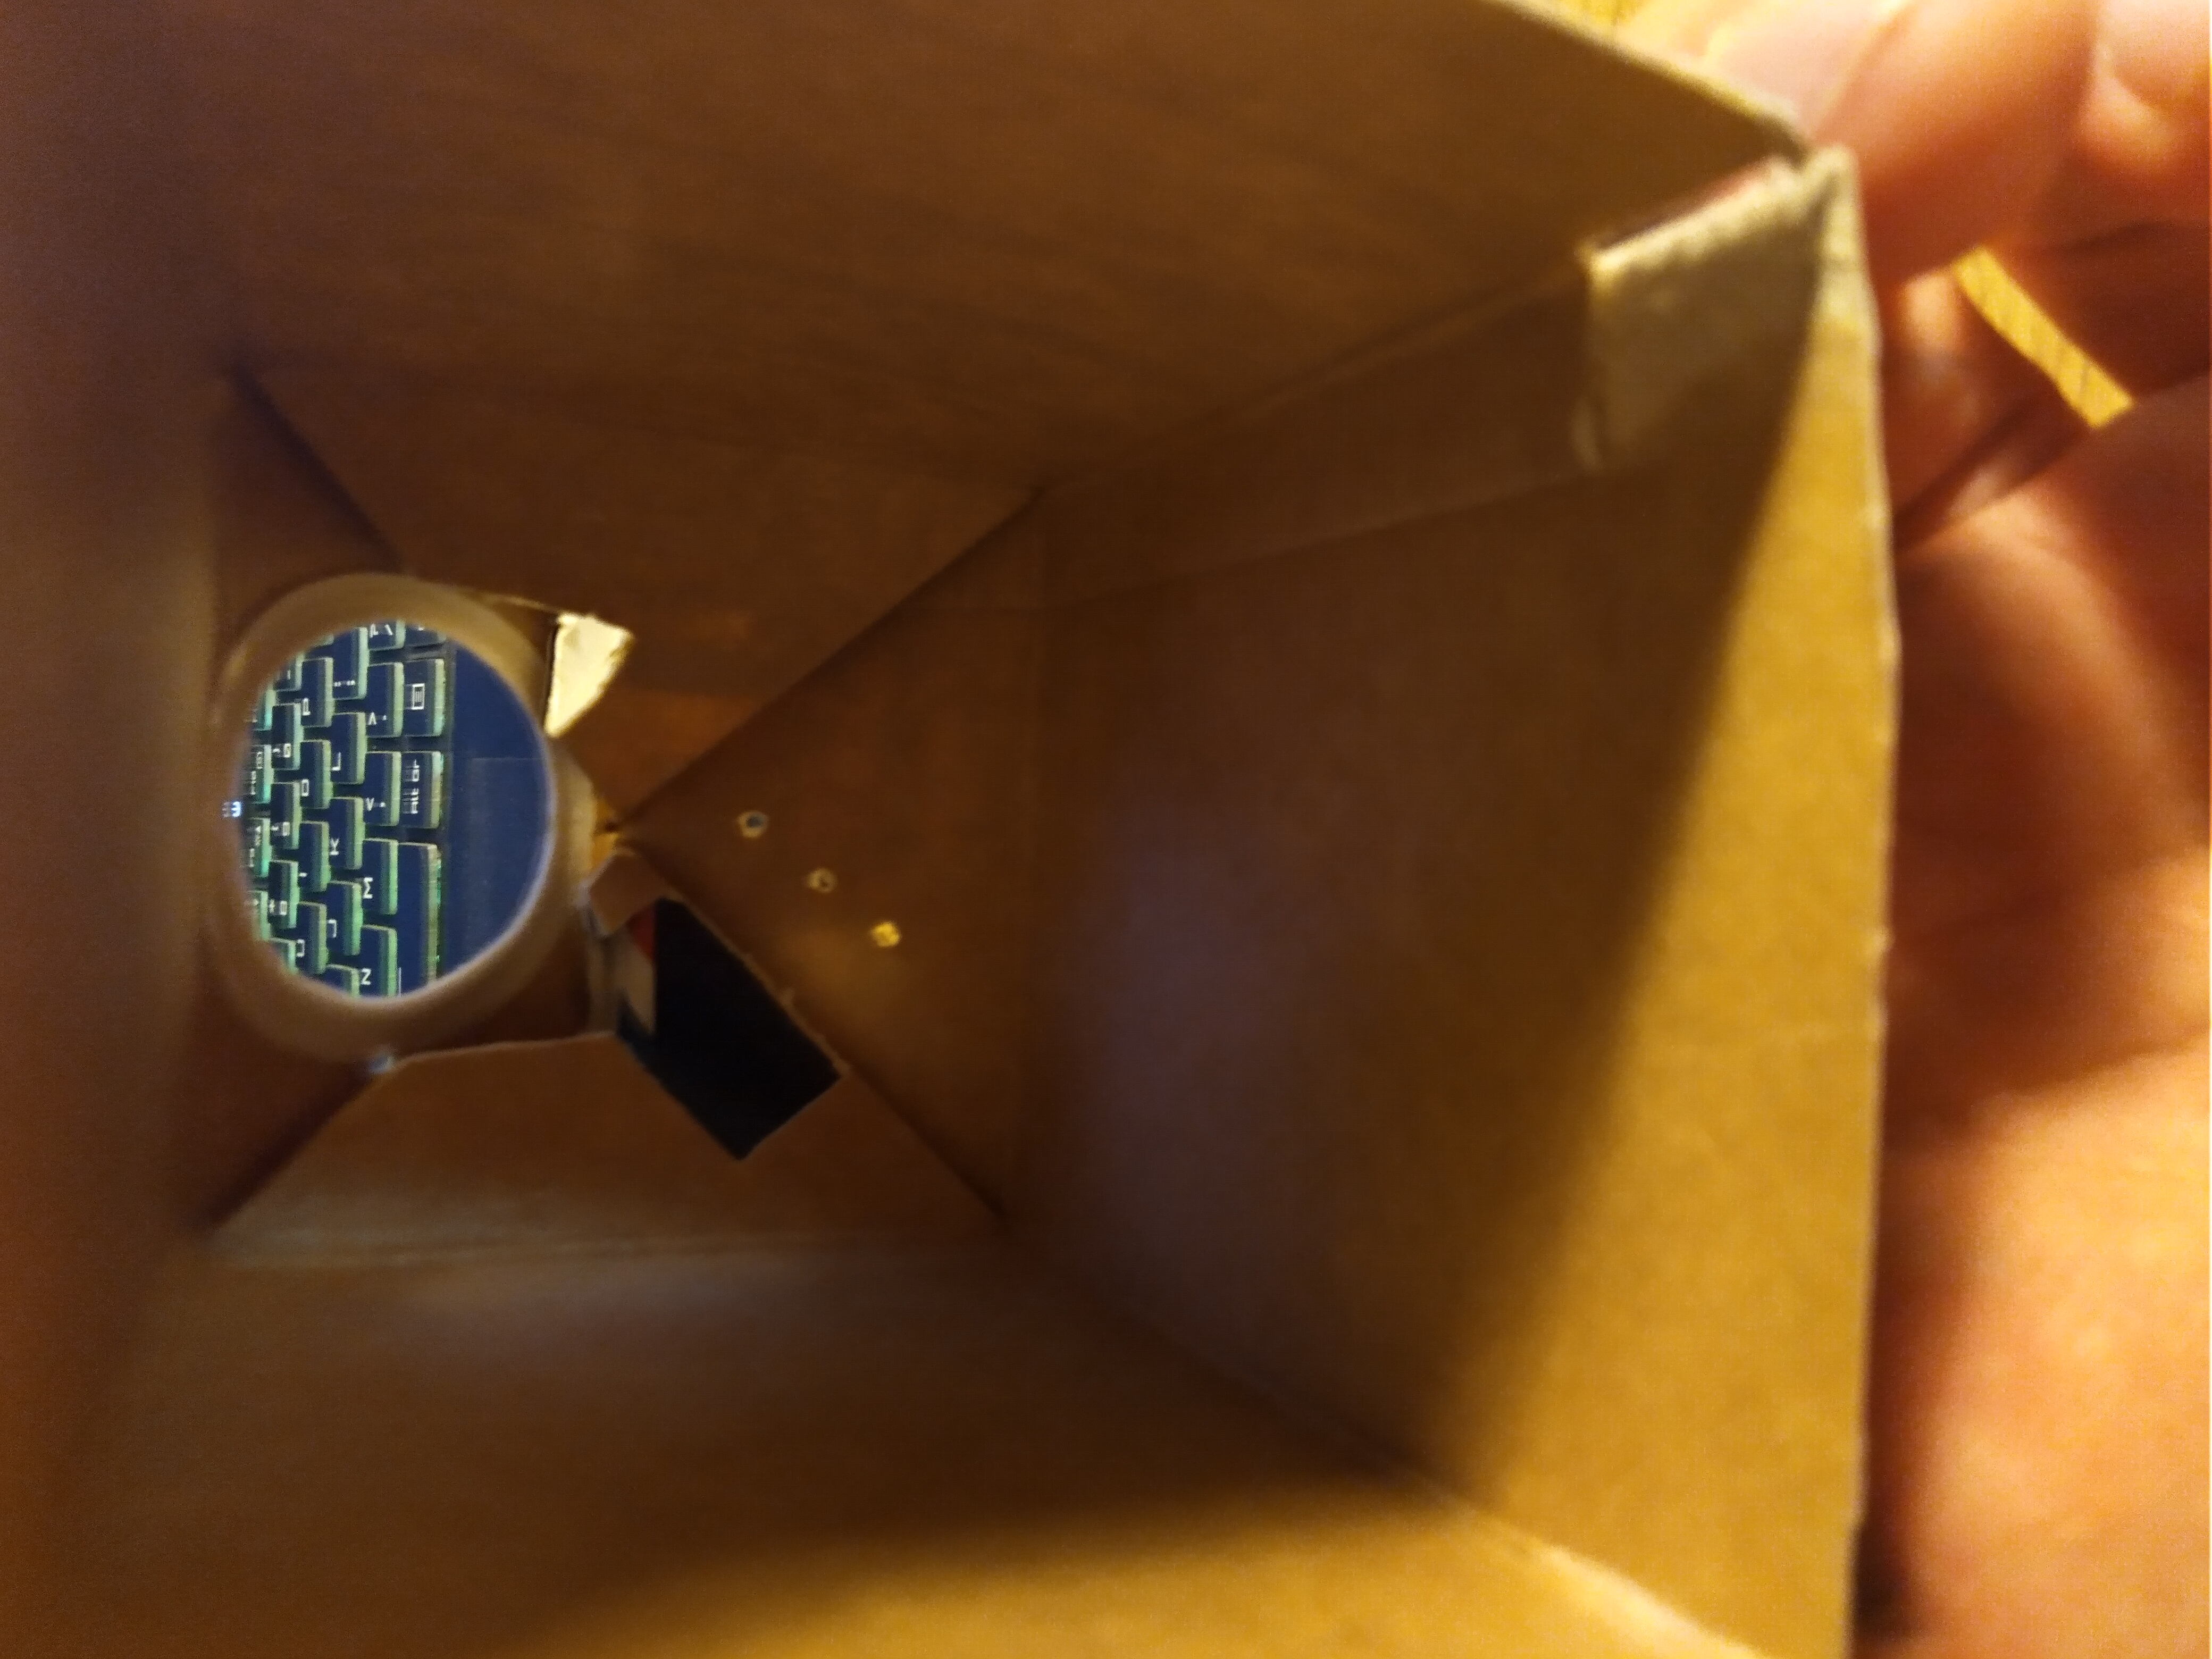
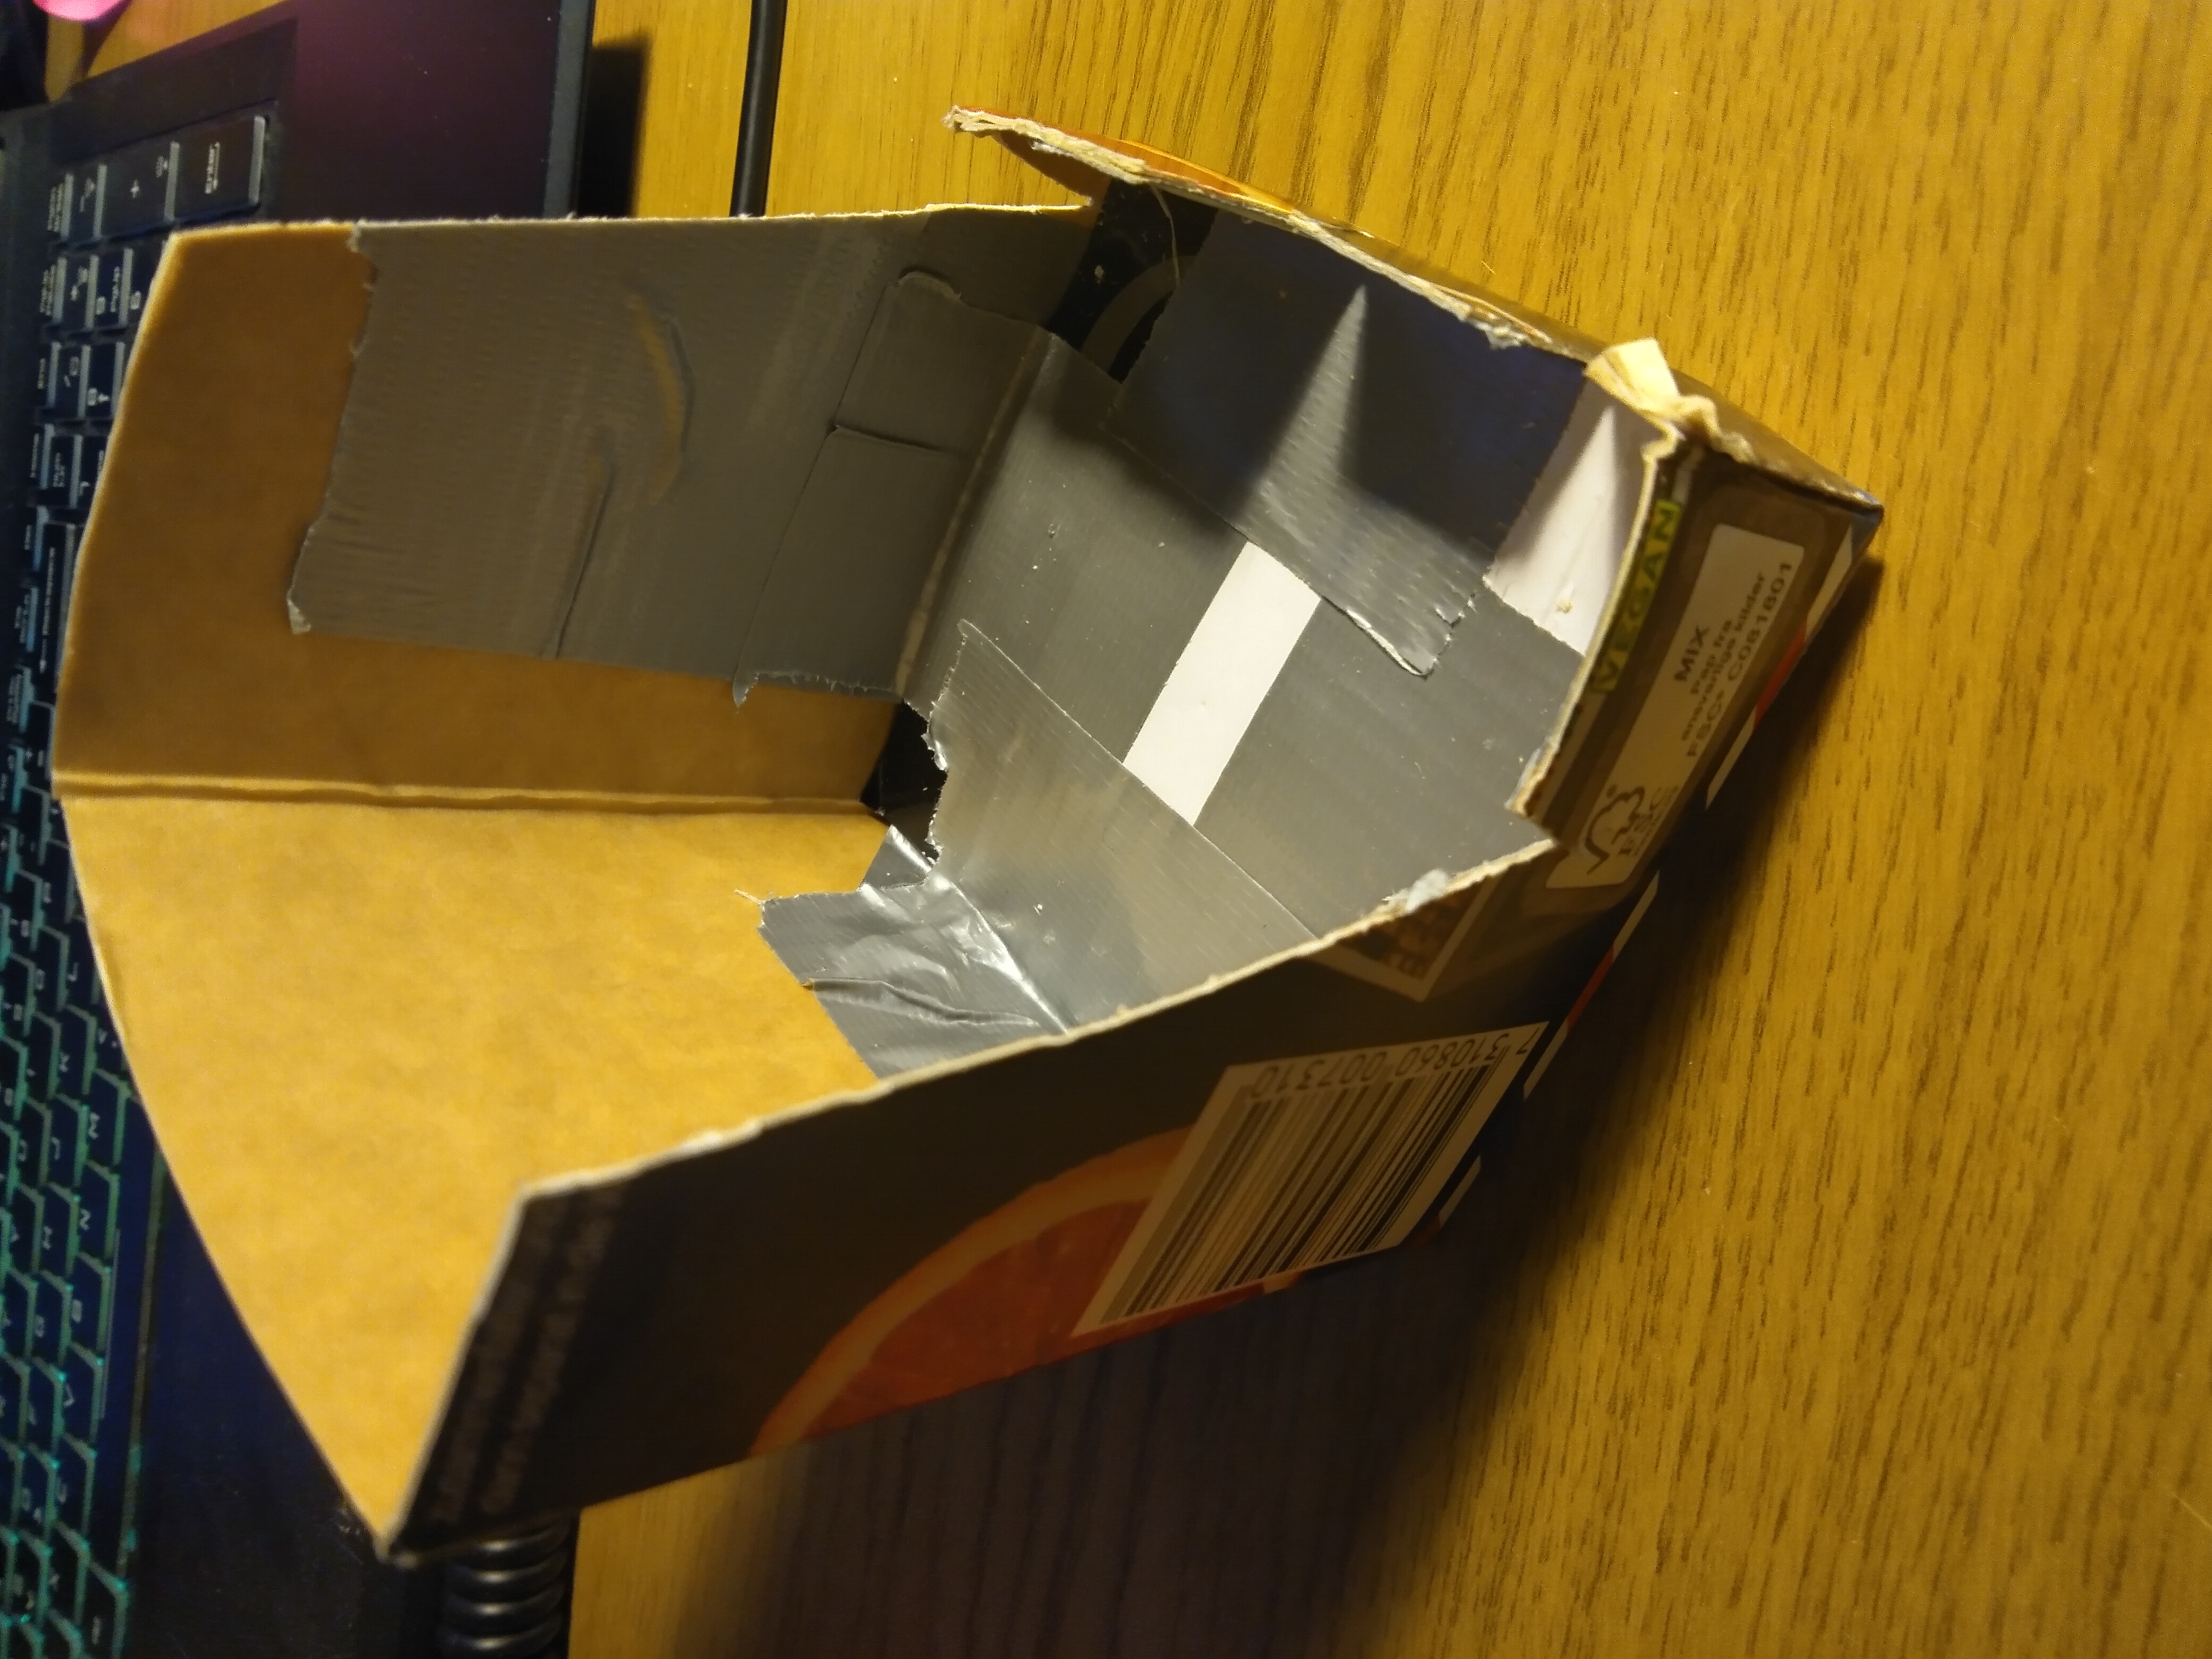
In the meantime, I optimized the copy-pasted code – I had to remove the 'delay' function, which stops the whole loop. I also started thinking about a casing for this little device. My first thought was to put all the stuff in a jar and mount the sensors in the lid, but then I thought it would be best to keep the electronics away from anything metal. A wooden box would work, but then I thought an either completely vertical or completely horizontal mount point would lead to less than optimal coverage from the PIR sensor. I settled on a juice carton — existing hole for the PIR, and a good angle for the coverage.
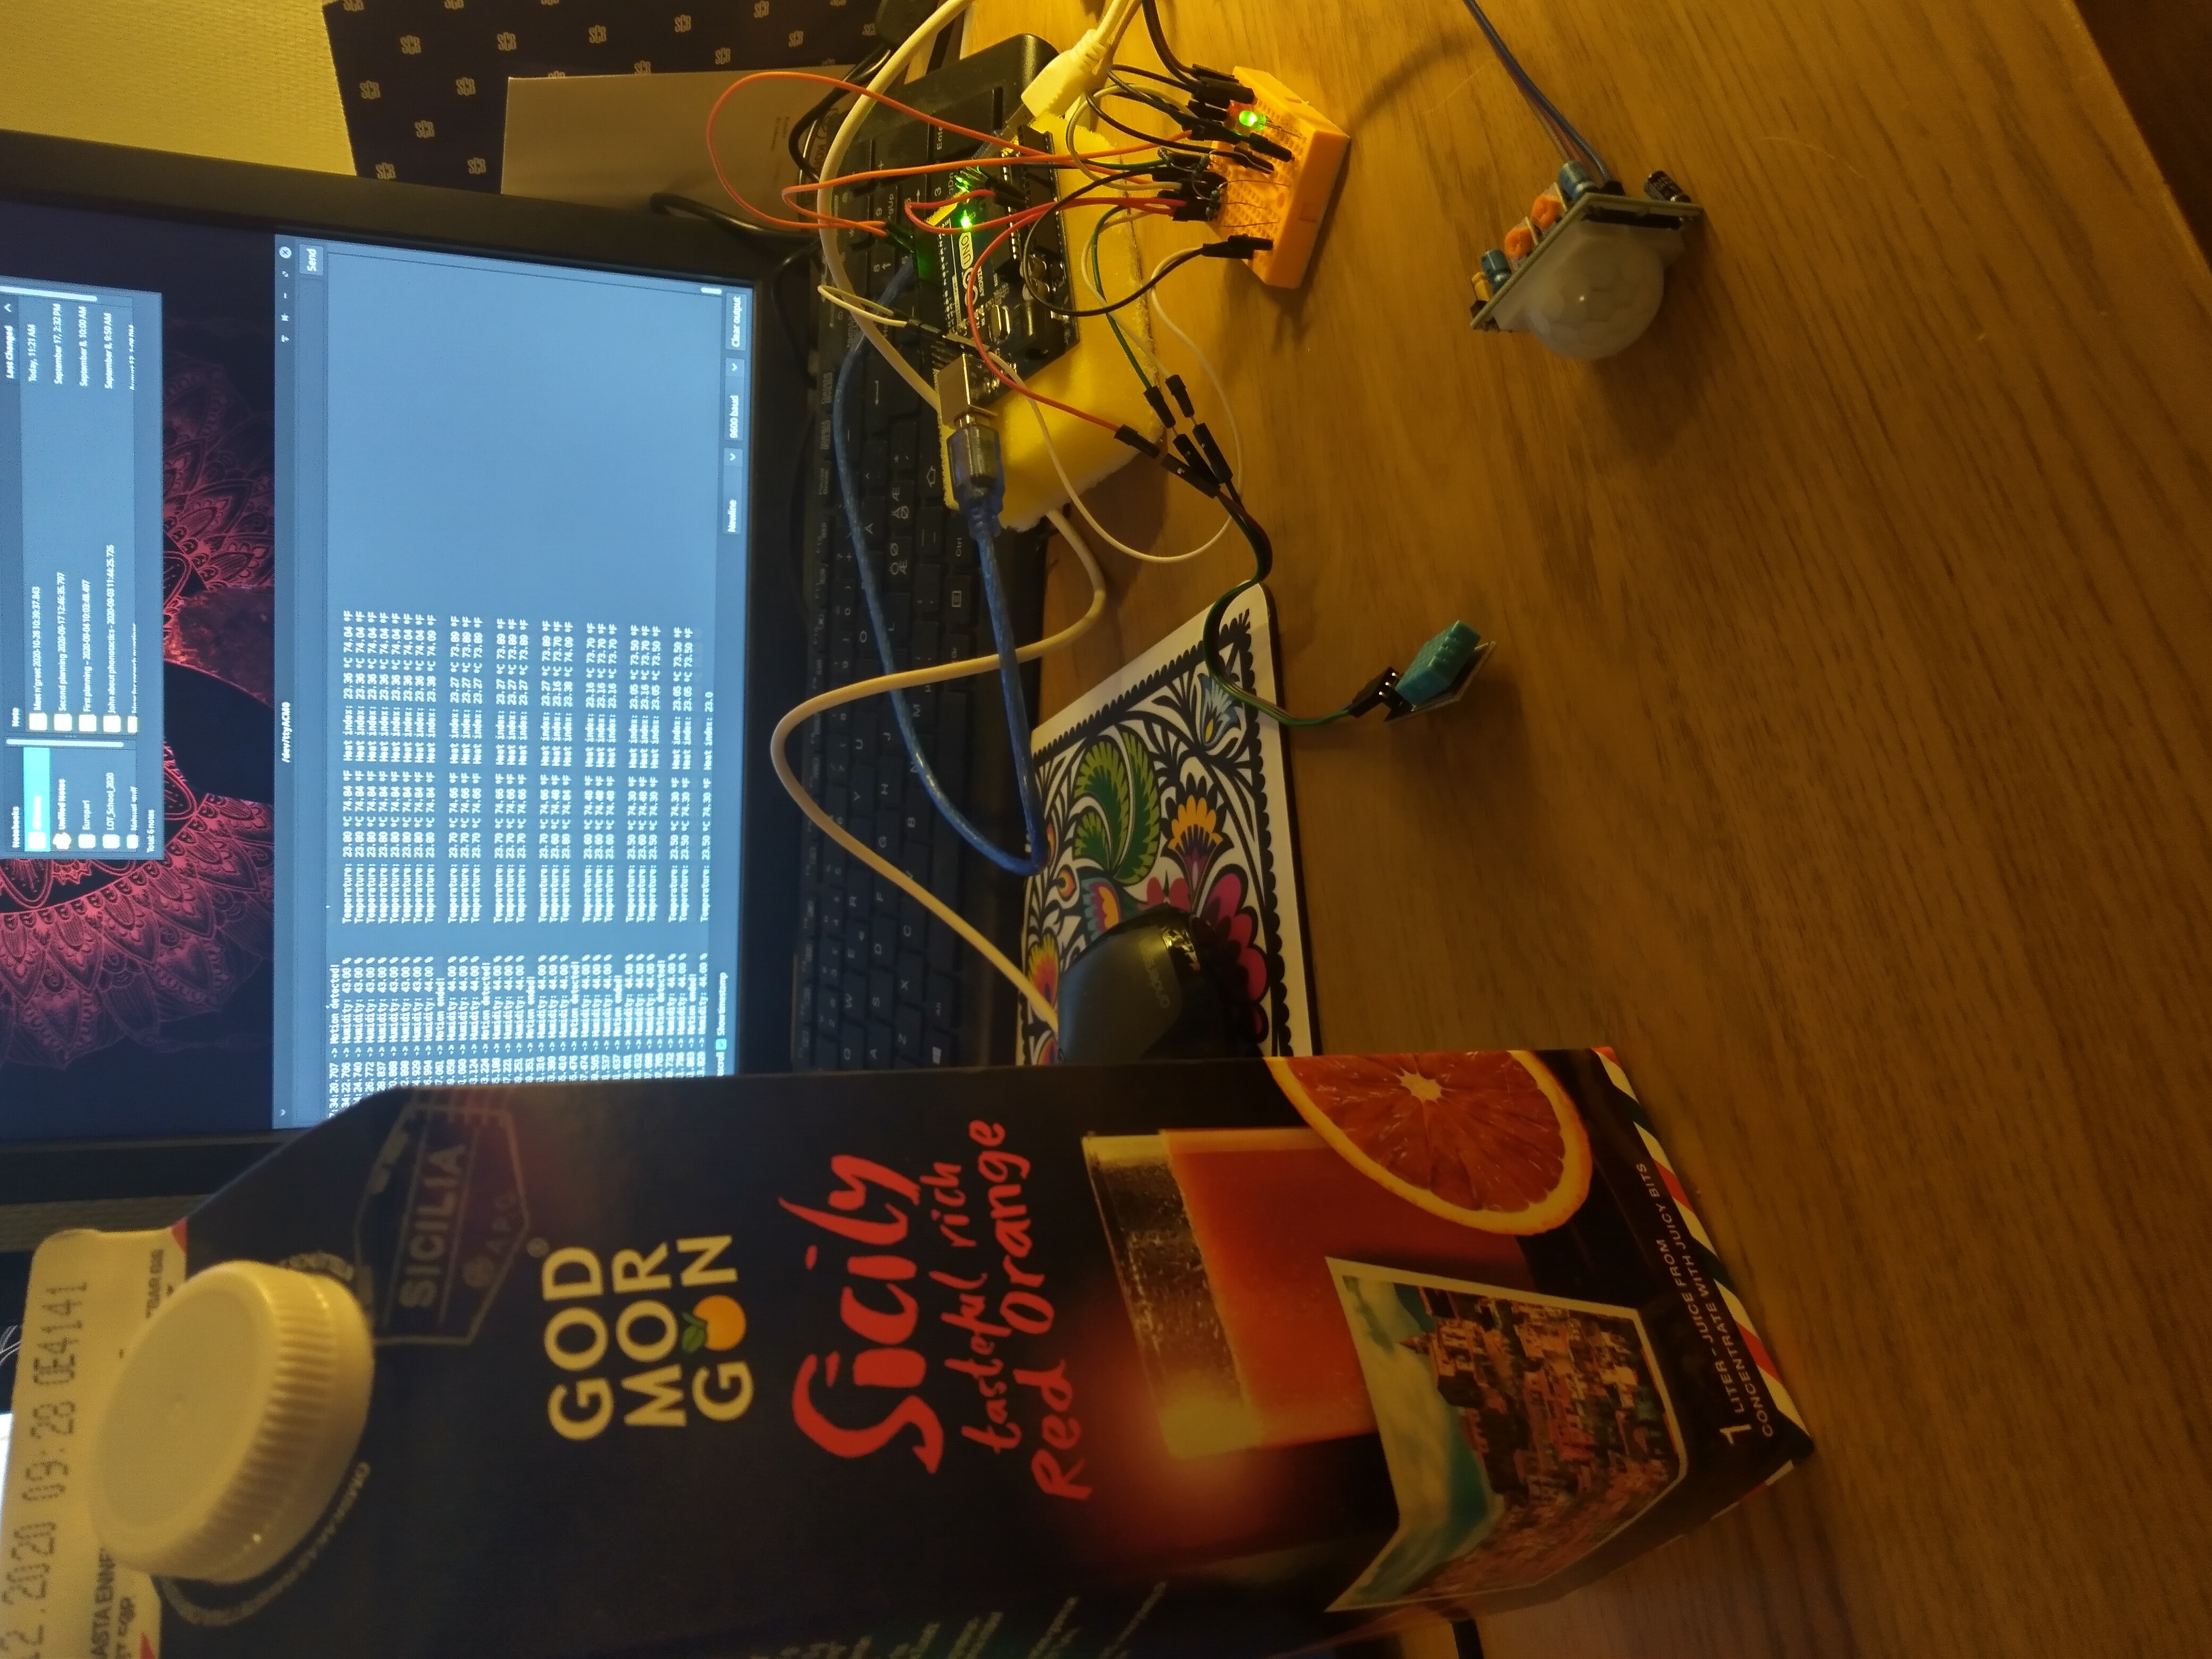
Here's the prototype next to its future housing.
I started preparing the new housing, punching holes where the various components would be mounted
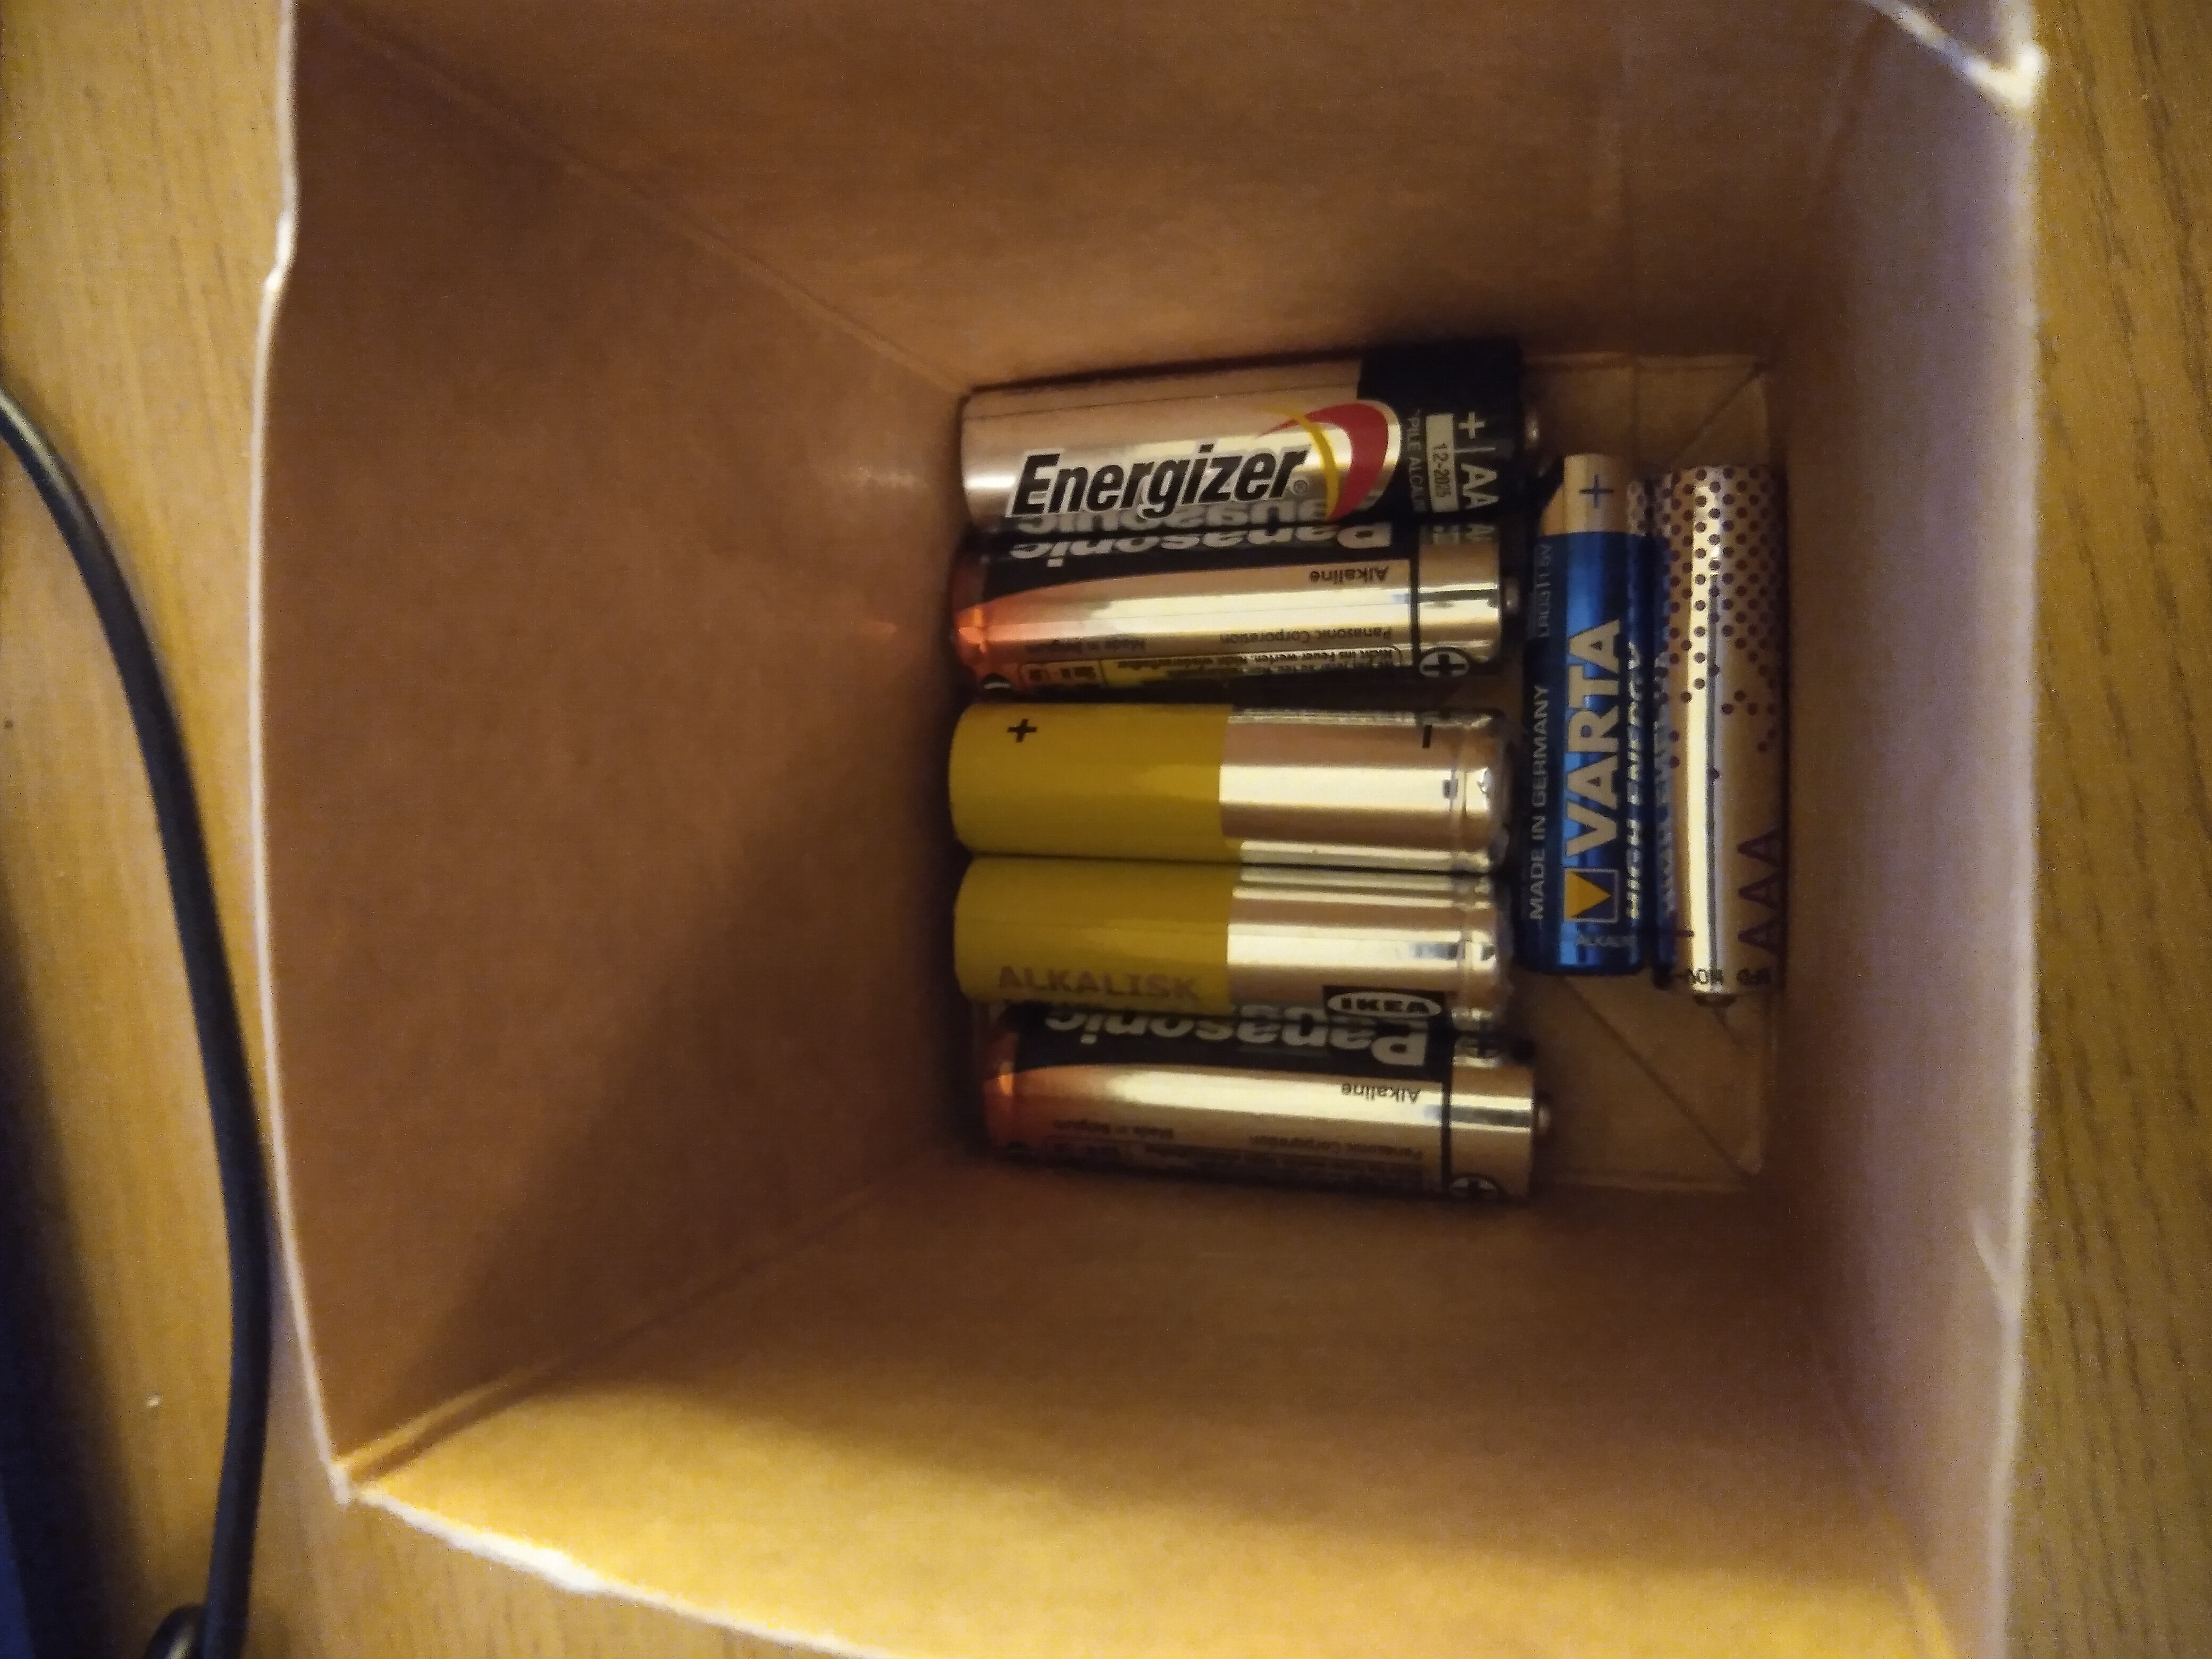
I threw some old batteries in the bottom to weight the whole thing down – wouldn't want it sliding around and making false readings on the motion sensor.
Next I got to programming the Blue Pill. I took the optimized code from the Arduino and renamed the pins (I found a guide to the pin correspondences here – I haven't verified all of them since I only needed two pins, but those two worked). I uploaded the program to the Blue Pill.

Here's the Blue Pill getting programmed. The board needs to be connected to the computer via the USB to TTL adapter. Only after the board is programmed can the regular USB port be used to collect serial data.
First try with the upload and everything was working as it should.
Here's everything programmed and put together.
With everything working, it was time to start mounting the components in the housing. This part should have been fairly straight forward.
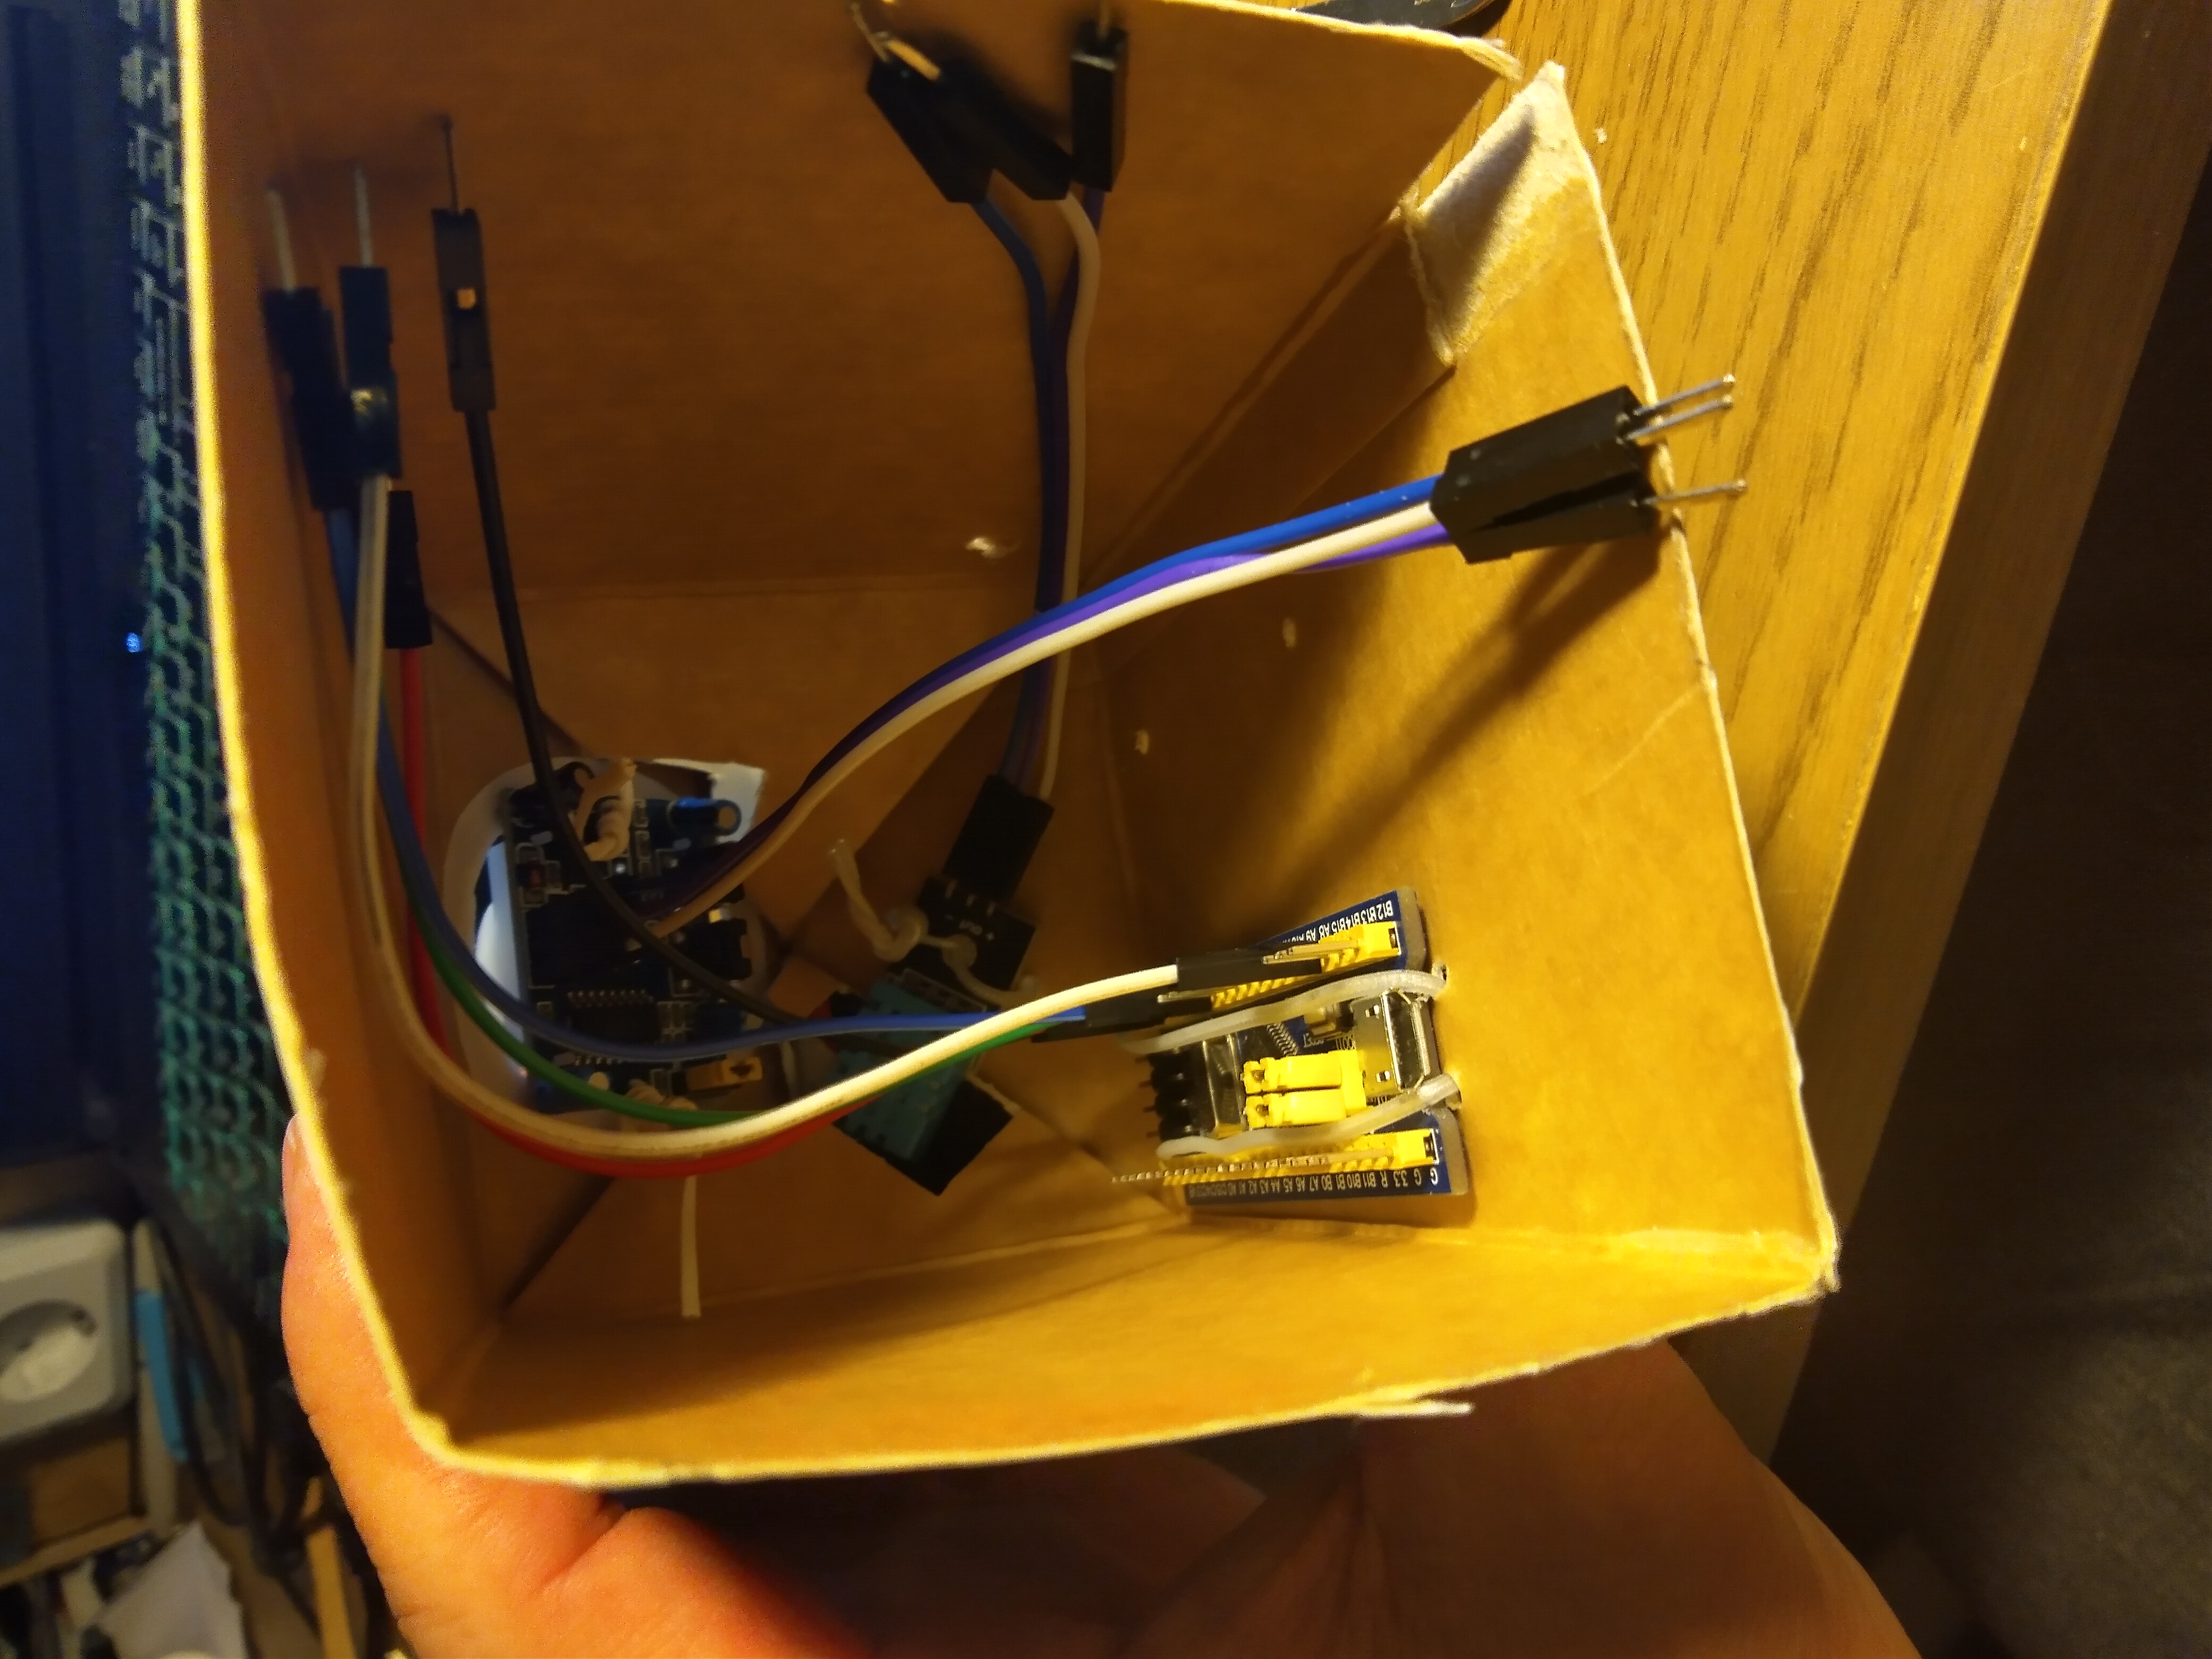
But after this picture was taken, I swapped out some of the longer wires for shorter ones in the breadboard, and once again I crossed two wires (double derp!), so once I got everything mounted it didn't work anymore :| Shit.
I rage quit at this point, it was like 2 am and I couldn't see straight anymore. I forgot to take a picture of the final insides – call me inexperienced, but it is only my third blog post after all. The next day I cut the front of the housing open so I could see properly. The crossed wires were obvious in 2 seconds. Once those wires were sorted, everything worked as it should. With that, I put everything together, and here's one last picture of the finished product.
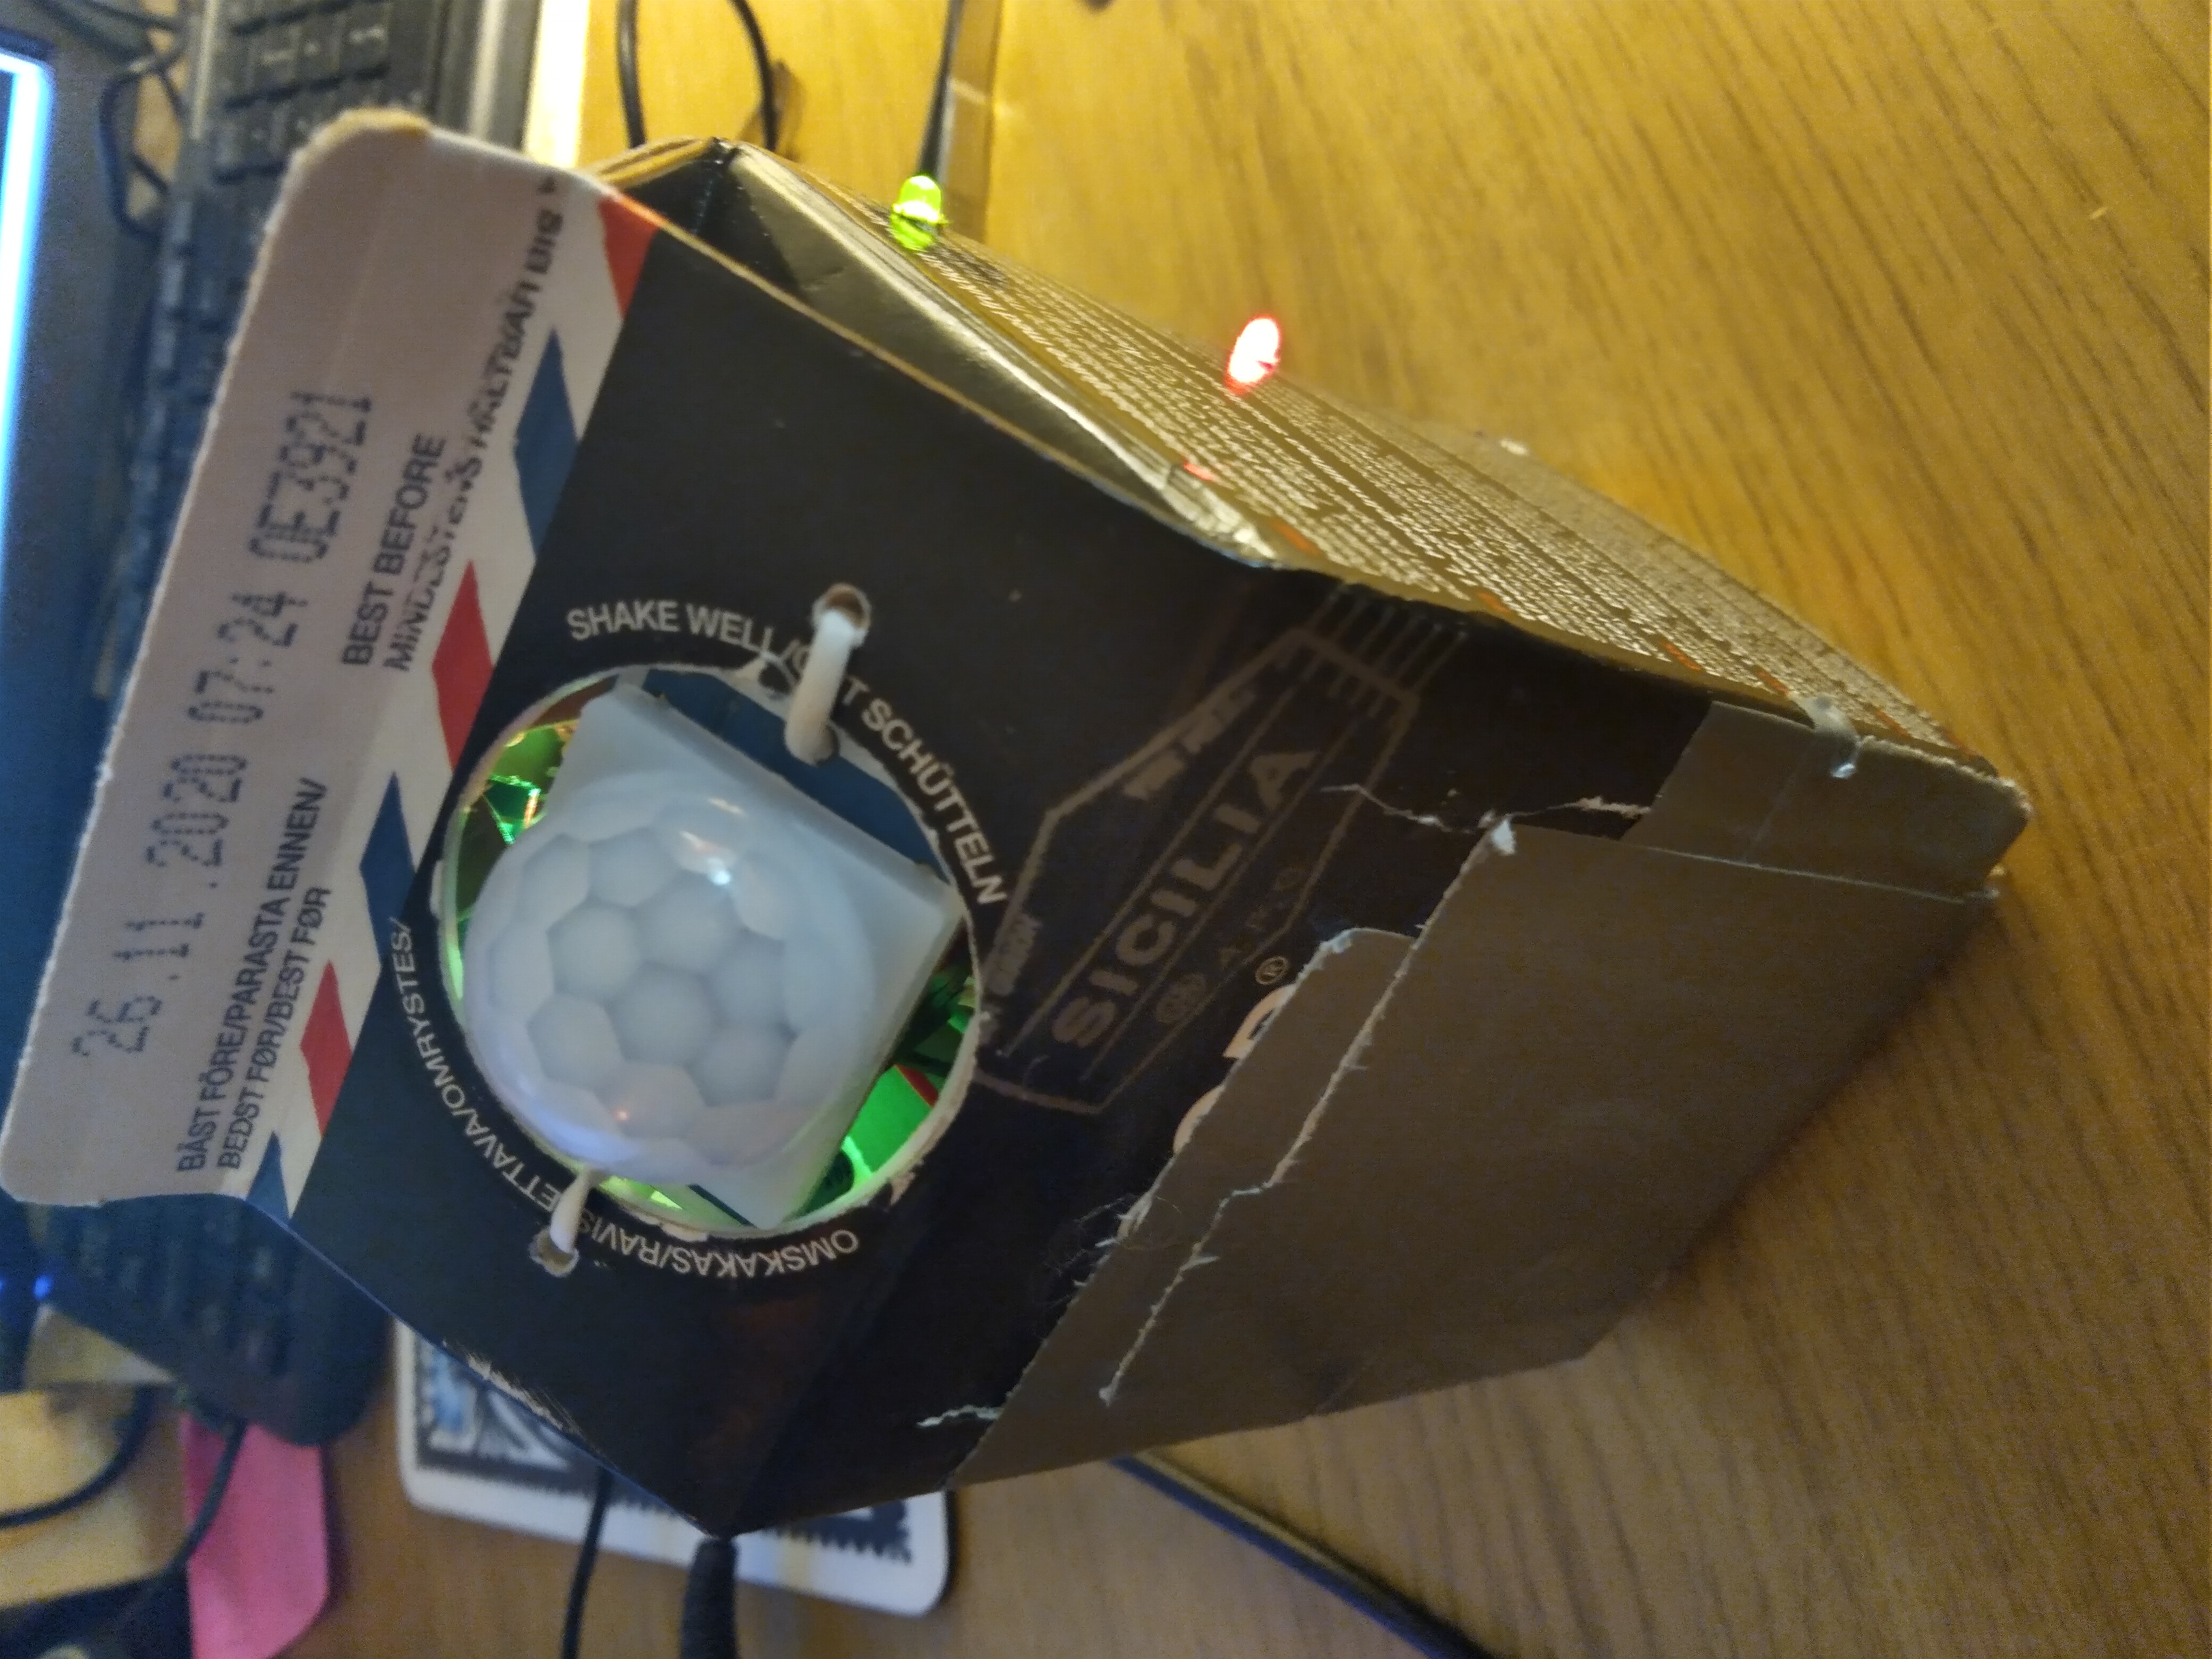
There it is, a DIY motion-temperature-humidity sensor for a remote location. The code for the device can be found here. And if I keep up this blogging momentum, maybe in the next post, I'll write about how to handle the data stream on the local end.
Enter your name | alias and email to comment on this post.